Rustenstein 3D: Game programming like it's 1992
Twice a year, NextRoll celebrates Hack Week, where employees get to work for a week on a project of their choice. It’s an excellent opportunity to experiment, learn new technologies and team up with people from across the company. You can learn all about Hack Week here.
As NextRoll increasingly adopts the Rust programming language, it’s common for engineers to use Hack Week as an opportunity to gain experience with it. Another popular choice is to work on video games and, as you may have guessed, we frequently see them combined in Rust video game projects. Last year, a group of us worked on extending my rpg-cli game. This time, though, we wanted to step it up a notch with a project that would exercise some of Rust’s strengths: low-level programming, intense computations and C data interoperability. And so we decided to port the classic Wolfenstein 3D game to Rust.
Background
id Software was famous for pushing the envelope of PC game programming: first by implementing NES-like side-scrollers on hardware that wasn’t prepared for it, then practically inventing and dominating the 3D first-person shooter genre, then making network and internet multiplayer a reality. Along the way, they also popularized the shareware distribution method, encouraged community modding and open-sourced all of their hit titles. Masters of Doom by David Kushner tells the story; Fabien Sanglard’s Game Engine black books explains the technical details.
Perhaps less notorious than its successors Doom and Quake, Wolfenstein 3D is a big milestone in id Software’s evolution and PC gaming in general. In addition, because its technology is more primitive, the source code is more approachable for study and implementation. The game doesn’t have a real 3D engine but rather simulates a 3D world from a 2D map using a technique called Ray Casting. All the drawing is done by directly putting pixels on the screen.
A few years ago, after reading the Wolfenstein black book, I spent some time trying to port it to Python, based on another modern port, wolf4sdl. I tried to remain as close as possible to the original source, which proved to be very difficult, so I eventually dropped the project. More recently, Mario Rugiero, who also read the book, proposed a Rust port as a project for this Hack Week. Several people jumped in, and so did I; although, based on my previous experience, the enterprise still seemed daunting: some of us were new to Rust, some had never played Wolf, some hadn’t read the book yet, and none had implemented ray casting before. We started without much hope of having something to show by the end of the week, but we saw enormous learning opportunities, so we dove right in.
Development
We roughly identified some components of the game that could be tackled separately, so each member picked one and went to work on it:
- graphic files decompression and parsing
- map files decompression, parsing and interpretation
- SDL graphic manipulation and texture rendering
- ray casting
- game loop and input management
- world rendering
In the cases where the output of one component was required as input for the next, we used pre-parsed or hard-coded data, extracted from the reference wolf4py and wolf4sdl implementations: decompressed binary dumps of assets, hardcoded maps and walls, etc. This allowed us to make progress in parallel.
Assets
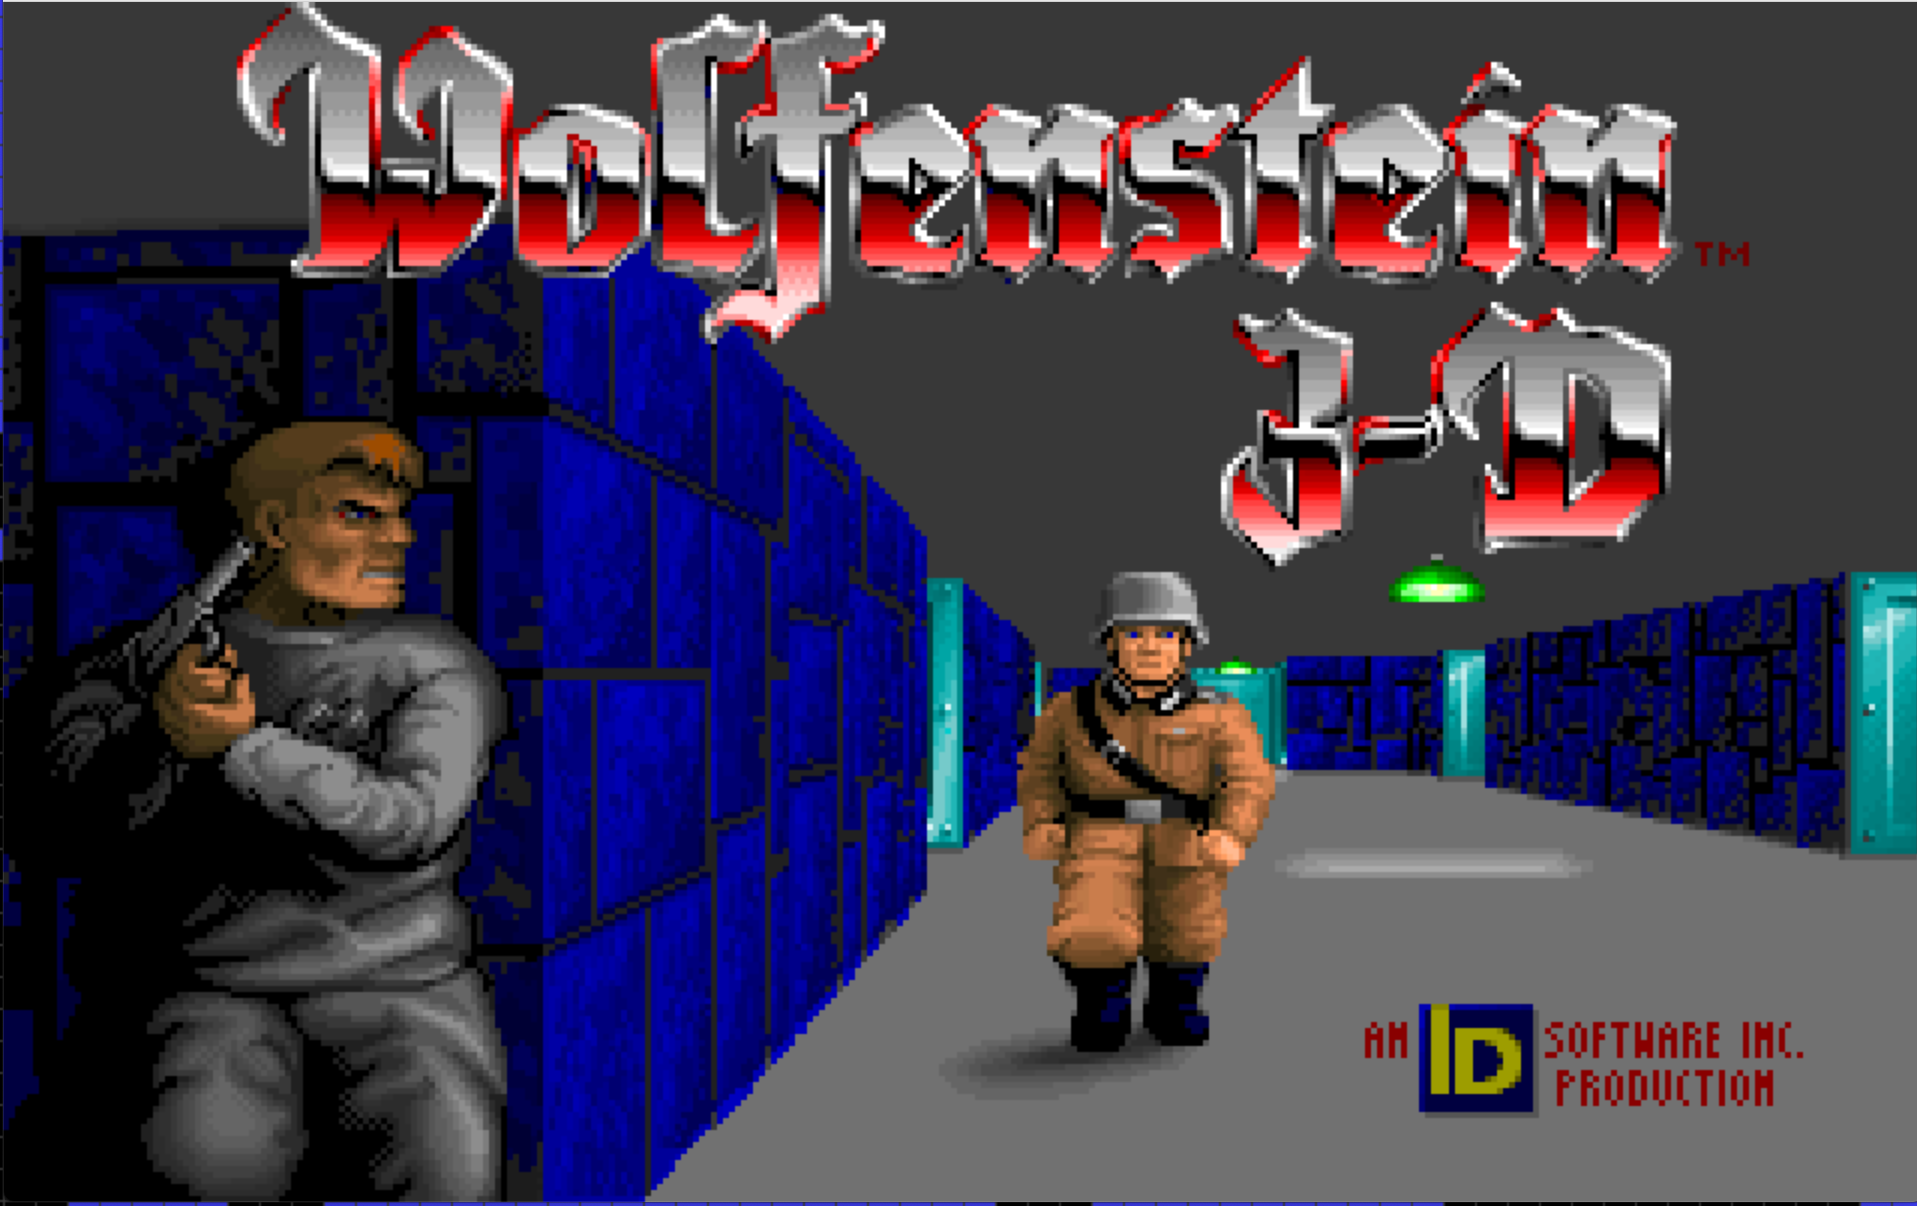
The first task of porting the game is to read its data. Wolfenstein ships with a set of files for its different assets: graphics (images, textures and sprites), audio (music and sound effects) and maps. One of the complications is that each version of the game has slightly different files, with different offsets and, in some cases, using different compression methods. For Rustenstein, we used the .WL1 files of the shareware version, which we included in the repository.
Each file uses a different combination of several decompression algorithms, all of which we had to port to Rust:
- the traditional Huffman compression
- RLEW compression, a run-length encoding algorithm that works at the word level
- a “Carmack” compression, which is John Carmack’s variant of the LZ (Lempel-Ziv) method. According to the Black Book, without much access to the literature, Carmack would “invent” an algorithm to later find out that someone else had done it before.
The original Wolf engine has a Memory Manager component to handle memory allocation and compacting (instead of the traditional C malloc) as well as a Page Manager to move assets from disk to RAM. Both components are unnecessary in modern hardware as we can safely assume that we can fit all assets in memory, so we did not include them in our port.
Parsing and decompression code can be found here for maps, and here for the rest of the assets.
Maps
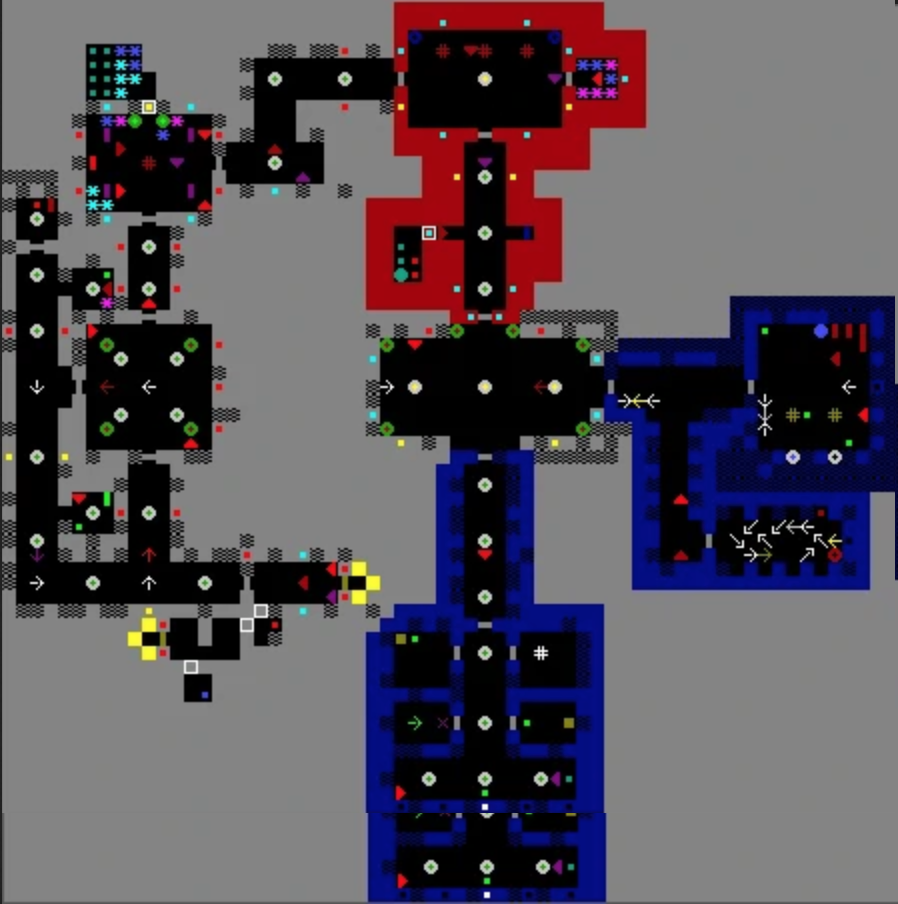
Wolfenstein 3D maps are defined as 64x64 grids of tiles. Each map has two layers of tiles: one for walls and doors, and another to place the player, enemies, and bonus items. The different tile values determine what texture to render on walls, what locks are required for doors, what direction the player is facing, etc. All walls have the same height and since they are represented as blocks in the tile grid, all intersections are rectangular; while this constrains the level designs, it dramatically simplifies the ray casting algorithm for drawing the 3D world.
Below is the first map of the first episode, as seen in a Wolfenstein map editor:
And the same map as ASCII, as printed by our debugging code:
WWWWWWWWWWWWWWWWWWWWWWWWWWWWWWWWWWWWWWWWWWWWWWWWWWWWWWWWWWWWWWWW
WWWWWWWWWWWWWWWWWWWWWWWWWWWWWWWWWWWWWWWWWWWWWWWWWWWWWWWWWWWWWWWW
WWWWWWWWWWWWWWWWWWWWWWWWWWWWW           WWWWWWWWWWWWWWWWWWWWWWWW
WWWWWW    WWWWWWWWWWWWWWWWWWW           WWWWWWWWWWWWWWWWWWWWWWWW
WWWWWW    WWWWWWWW          W           W   WWWWWWWWWWWWWWWWWWWW
WWWWWW     WWWWWWW          |           | W WWWWWWWWWWWWWWWWWWWW
WWWWWW     WWWWWWW          W           W   WWWWWWWWWWWWWWWWWWWW
WWWWWWWWWWWWWWWWWW   WWWWWWWW           WWWWWWWWWWWWWWWWWWWWWWWW
WWWWWW         WWW   WWWWWWWW           WWWWWWWWWWWWWWWWWWWWWWWW
WWWWWW         WWW   WWWWWWWWWWWWW-WWWWWWWWWWWWWWWWWWWWWWWWWWWWW
WWWWWW         W       WWWWWWWWWW   WWWWWWWWWWWWWWWWWWWWWWWWWWWW
WWWWWW         |       WWWWWWWWWW   WWWWWWWWWWWWWWWWWWWWWWWWWWWW
WWWWWW         W       WWWWWWWWWW   WWWWWWWWWWWWWWWWWWWWWWWWWWWW
WWWWWW         WWWWWWWWWWWWWWWWWW   WWWWWWWWWWWWWWWWWWWWWWWWWWWW
W   WW         WWWWWWWWWWWWWWWWWW   WWWWWWWWWWWWWWWWWWWWWWWWWWWW
W   WWWWWW-WWWWWWWWWWWWWWWWWWWWWW   WWWWWWWWWWWWWWWWWWWWWWWWWWWW
W   WWWWW   WWWWWWWWWWWWWWWW  WW      WWWWWWWWWWWWWWWWWWWWWWWWWW
WW-WWWWWW   WWWWWWWWWWWWWWWW  WWW   WWWWWWWWWWWWWWWWWWWWWWWWWWWW
W   WWWWW   WWWWWWWWWWWWWWWW  WWW   WWWWWWWWWWWWWWWWWWWWWWWWWWWW
W   W   W   WWWWWWWWWWWWWWWW  WWW   WWWWWWWWWWWWWWWWWWWWWWWWWWWW
W       W   WWWWWWWWWWWWWWWWWWWWW   WWWWWWWWWWWWWWWWWWWWWWWWWWWW
W   W   W   WWWWWWWWWWWWWWWWWWWWW   WWWWWWWWWWWWWWWWWWWWWWWWWWWW
W   WWWWWW-WWWWWWWWWWWWWWWWWWWWWWW-WWWWWWWWWWWWWWWWWWWWWWWWWWWWW
W   WW         WWWWWWWWWWWWWWWWW     WWWWWWWWWWWWWWWWW        WW
W   WW         WWWWWWWWWWWW               WWWWWWWWWWWW        WW
W   WW         WWWWWWWWWWWW               WWWWWWWWWWWW        WW
W    W         WWWWWWWWWWWW                W         W        WW
W    |         WWWWWWWWWWWW                |         |        WW
W    W         WWWWWWWWWWWW                W         W        WW
W   WW         WWWWWWWWWWWW               WWWW    WWWW        WW
W   WW         WWWWWWWWWWWW               WWWWW  WWWWW        WW
W   WW         WWWWWWWWWWWWWWWWW     WWWWWWWWWW  WWWWW        WW
W   WWWWWW-WWWWWWWWWWWWWWWWWWWWWWW-WWWWWWWWWWWW  WWWWWWW WW WWWW
W   WWWWW   WWWWWWWWWWWWWWWWWWWWW   WWWWWWWWWWW  WWWWWWWWWWWWWWW
W   WWWWW   WWWWWWWWWWWWWWWWWWWWW   WWWWWWWWWWW  WWWWWWWWWWWWWWW
W   W   W   WWWWWWWWWWWWWWWWWWWWW   WWWWWWWWWWW  WWWWWWWWWWWWWWW
W       W   WWWWWWWWWWWWWWWWWWWWW   WWWWWWWWWWW  WWW W W W WWWWW
W   W   W   WWWWWWWWWWWWWWWWWWWWW   WWWWWWWWWWW   W         WWWW
W   WWWWW   WWWWWWWWWWWWWWWWWWWWW   WWWWWWWWWWW   |         WWWW
W   WWWWW   WWWWWWWWWWWWWWWWWWWWW   WWWWWWWWWWW   W         WWWW
W                W      WWWWWWWWW   WWWWWWWWWWWWWWWW W W W WWWWW
W                |      W WWWWWWW   WWWWWWWWWWWWWWWWWWWWWWWWWWWW
W                W     WWWWWWWWWW   WWWWWWWWWWWWWWWWWWWWWWWWWWWW
WWWWWWWWWWWWWWWWWWWWWWWWWWWWWWWWW   WWWWWWWWWWWWWWWWWWWWWWWWWWWW
WWWWWWWWWWWW  W  W  WWWWWWWWWWWWWW-WWWWWWWWWWWWWWWWWWWWWWWWWWWWW
WWWWWWWWWW W  W  W WWWWWWWWW    W   W    WWWWWWWWWWWWWWWWWWWWWWW
WWWWWWWWWWWW     WWWWWWWWWWW    |   |    WWWWWWWWWWWWWWWWWWWWWWW
WWWWWWWWWWWWWWWWWWWWWWWWWWWW    W   W    WWWWWWWWWWWWWWWWWWWWWWW
WWWWWWWWWWWWW  WWWWWWWWWWWWW    W   W    WWWWWWWWWWWWWWWWWWWWWWW
WWWWWWWWWWWWW  WWWWWWWWWWWWWWWWWW   WWWWWWWWWWWWWWWWWWWWWWWWWWWW
WWWWWWWWWWWWWWWWWWWWWWWWWWWW    W   W    WWWWWWWWWWWWWWWWWWWWWWW
WWWWWWWWWWWWWWWWWWWWWWWWWWWW P  |   |    WWWWWWWWWWWWWWWWWWWWWWW
WWWWWWWWWWWWWWWWWWWWWWWWWWWW    W   W    WWWWWWWWWWWWWWWWWWWWWWW
WWWWWWWWWWWWWWWWWWWWWWWWWWWWWWWWW   WWWWWWWWWWWWWWWWWWWWWWWWWWWW
WWWWWWWWWWWWWWWWWWWWWWWWWWWW             WWWWWWWWWWWWWWWWWWWWWWW
WWWWWWWWWWWWWWWWWWWWWWWWWWWW             WWWWWWWWWWWWWWWWWWWWWWW
WWWWWWWWWWWWWWWWWWWWWWWWWWWW             WWWWWWWWWWWWWWWWWWWWWWW
WWWWWWWWWWWWWWWWWWWWWWWWWWWWWWWWWWWWWWWWWWWWWWWWWWWWWWWWWWWWWWWW
Pixel drawing
For the graphic assets, decompressing and loading the data to memory is just half of the story. The binary chunks that make each graphic (image, sprite or texture) are arranged explicitly for fast rendering on the VGA displays the game was initially designed for. This means that the graphics are rotated to be drawn in columns, and the columns themselves appear interleaved in the file since VGA allowed for parallel writing to four different video memory banks.
Each byte in the graphic binary chunks is an index to the 256 color palette used in Wolfenstein 3D. The reference wolf4sdl implementation would write those chunks to an SDL surface, which would, in turn, be translated to RGB colors before being copied to the screen, as described in this blog post. Since the Rust bindings for SDL use a different set of abstractions (and, in particular, they don’t expose the SDL_ConvertPixels function), we opted for converting from palette index to RGB colors on the fly, writing directly to an RGB texture that then gets copied to the renderable canvas. This means that the rendering routines need to be adapted to write red, green and blue bytes to form each pixel, instead of the single palette index byte.
fn put_pixel(buffer: &mut [u8], pitch: usize, x: u32, y: u32, color: (u8, u8, u8)) {
    let (r, g, b) = color;
    let offset = y as usize * pitch + x as usize * 3;
    buffer[offset] = r;
    buffer[offset + 1] = g;
    buffer[offset + 2] = b;
}
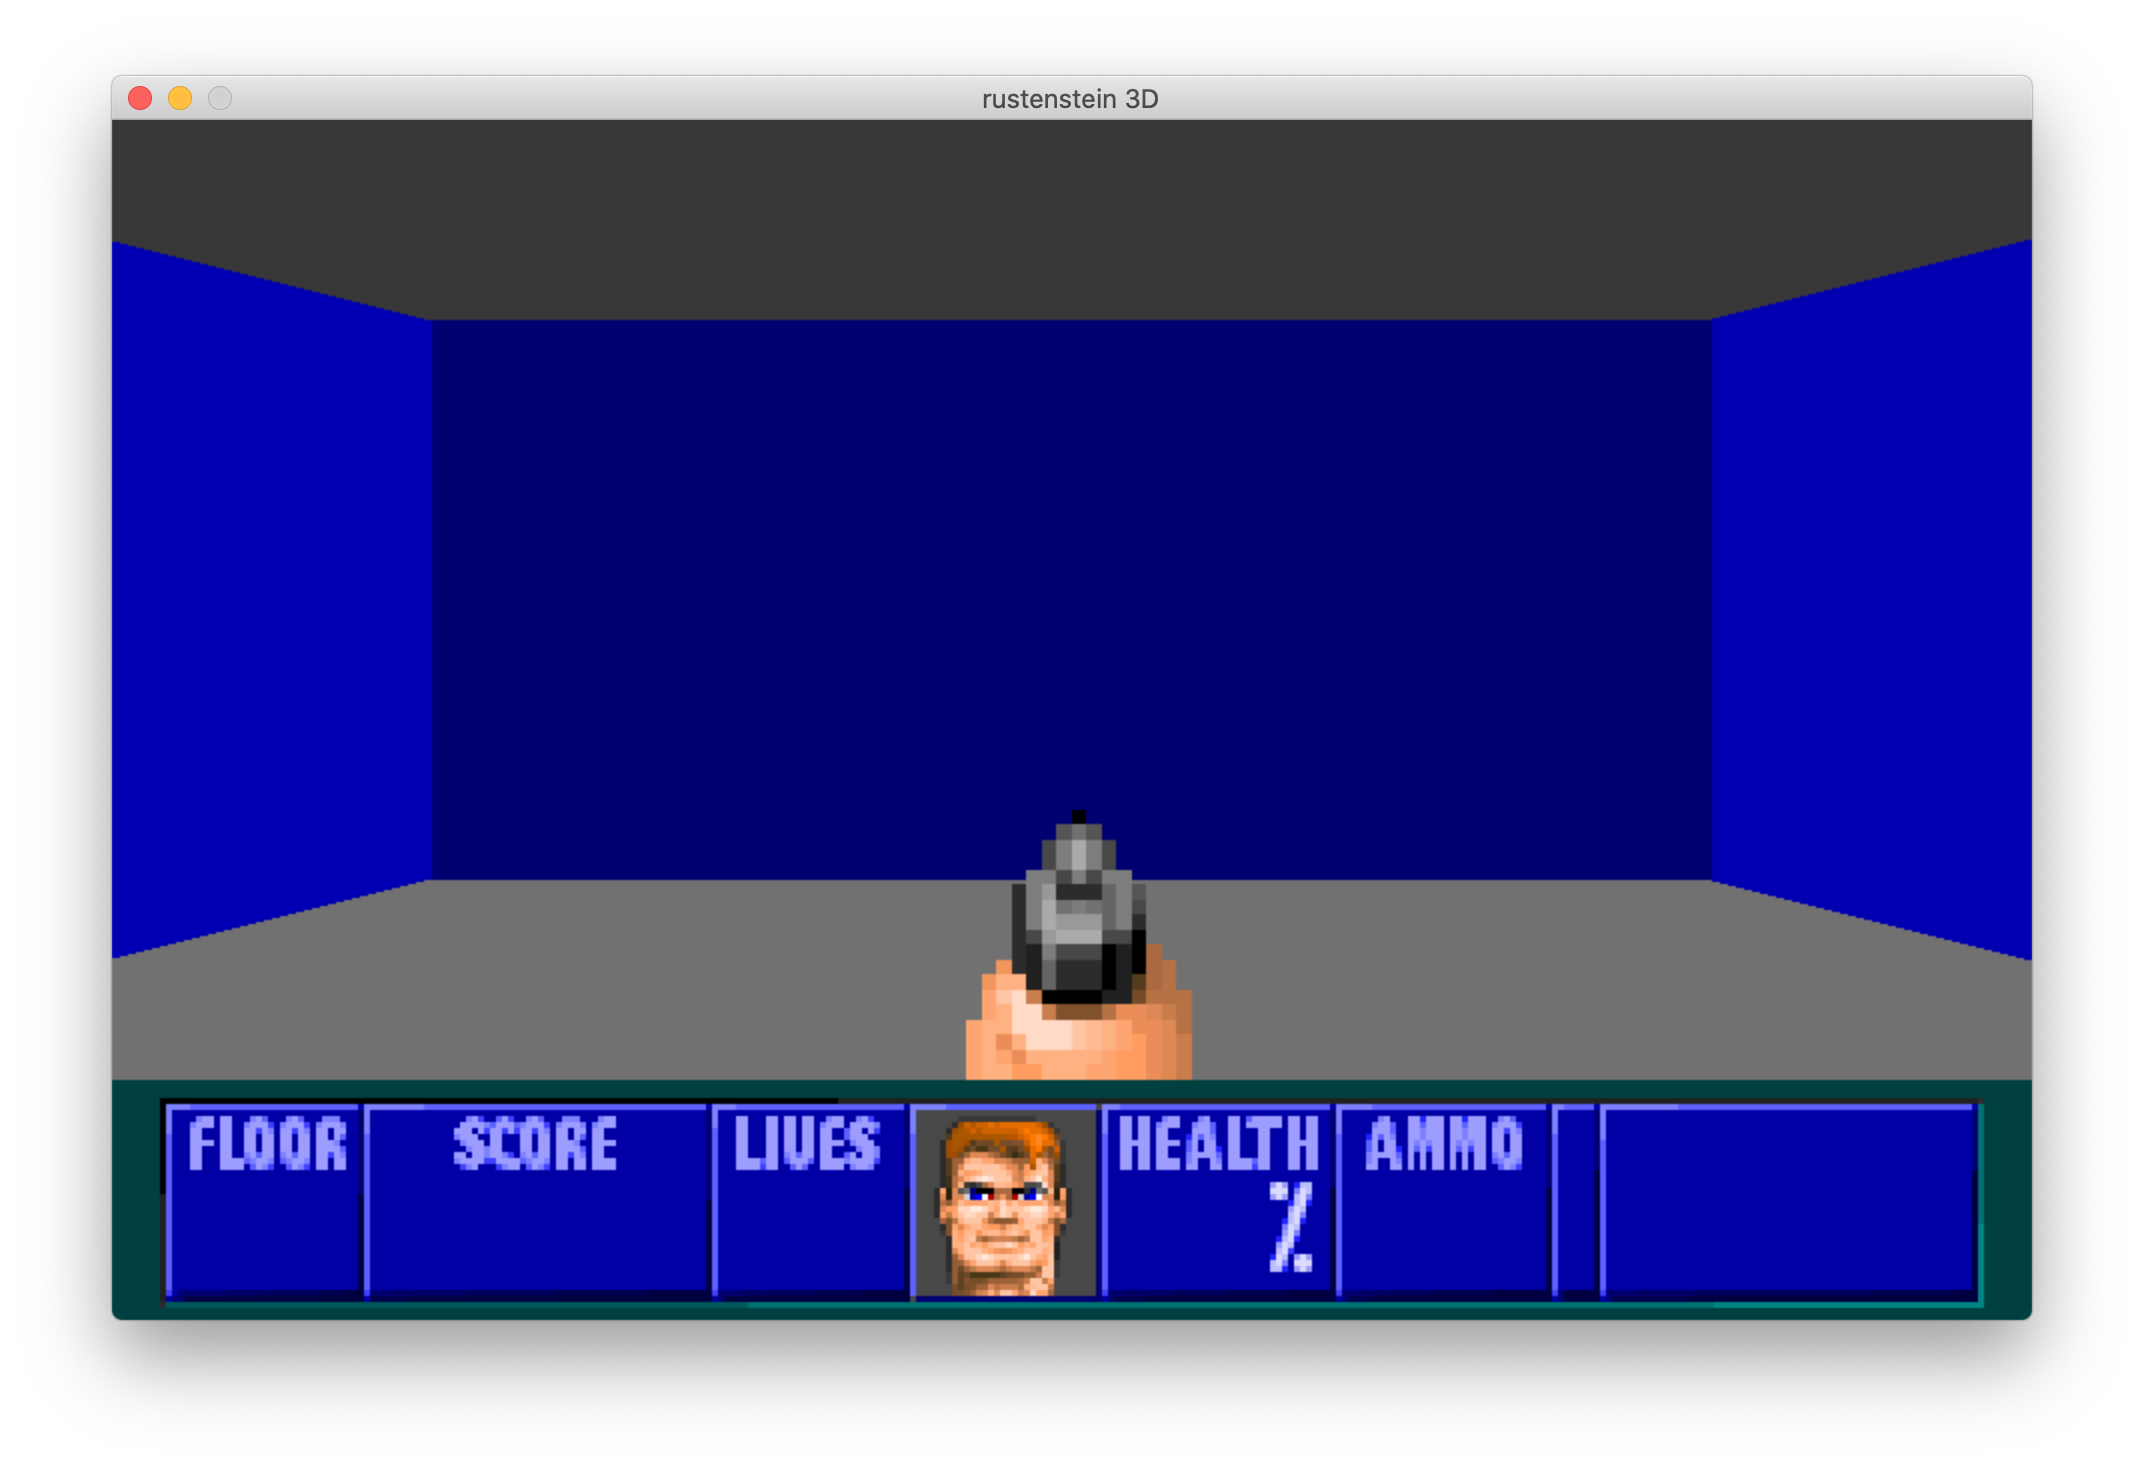
The two graphic rendering routines we implemented were directly ported from the wolf4py implementation, which in turn was ported almost line by line from the wolf4sdl reference fork. The first routine handles displaying a full image directly to the screen. This is used for the title screen as well as the player status bar at the bottom of the in-game view:
fn draw_to_texture(texture: &mut Texture, pic: &Picture, color_map: ColorMap) {
    texture.with_lock(None, |buffer: &mut [u8], pitch: usize| {
        for y in 0..pic.height {
            for x in 0..pic.width {
                let source_index =
                    (y * (pic.width >> 2) + (x >> 2)) + (x & 3) * (pic.width >> 2) * pic.height;
                let color = pic.data[source_index as usize];
                put_pixel(buffer, pitch, x, y, color_map[color as usize]);
            }
        }
    });
}
The second routine, a much more complex one, is in charge of drawing sprites and is currently used to display the player weapon. A similar but even more complicated function is left to be ported: the one that draws scaled images such as wall textures and enemy sprites.
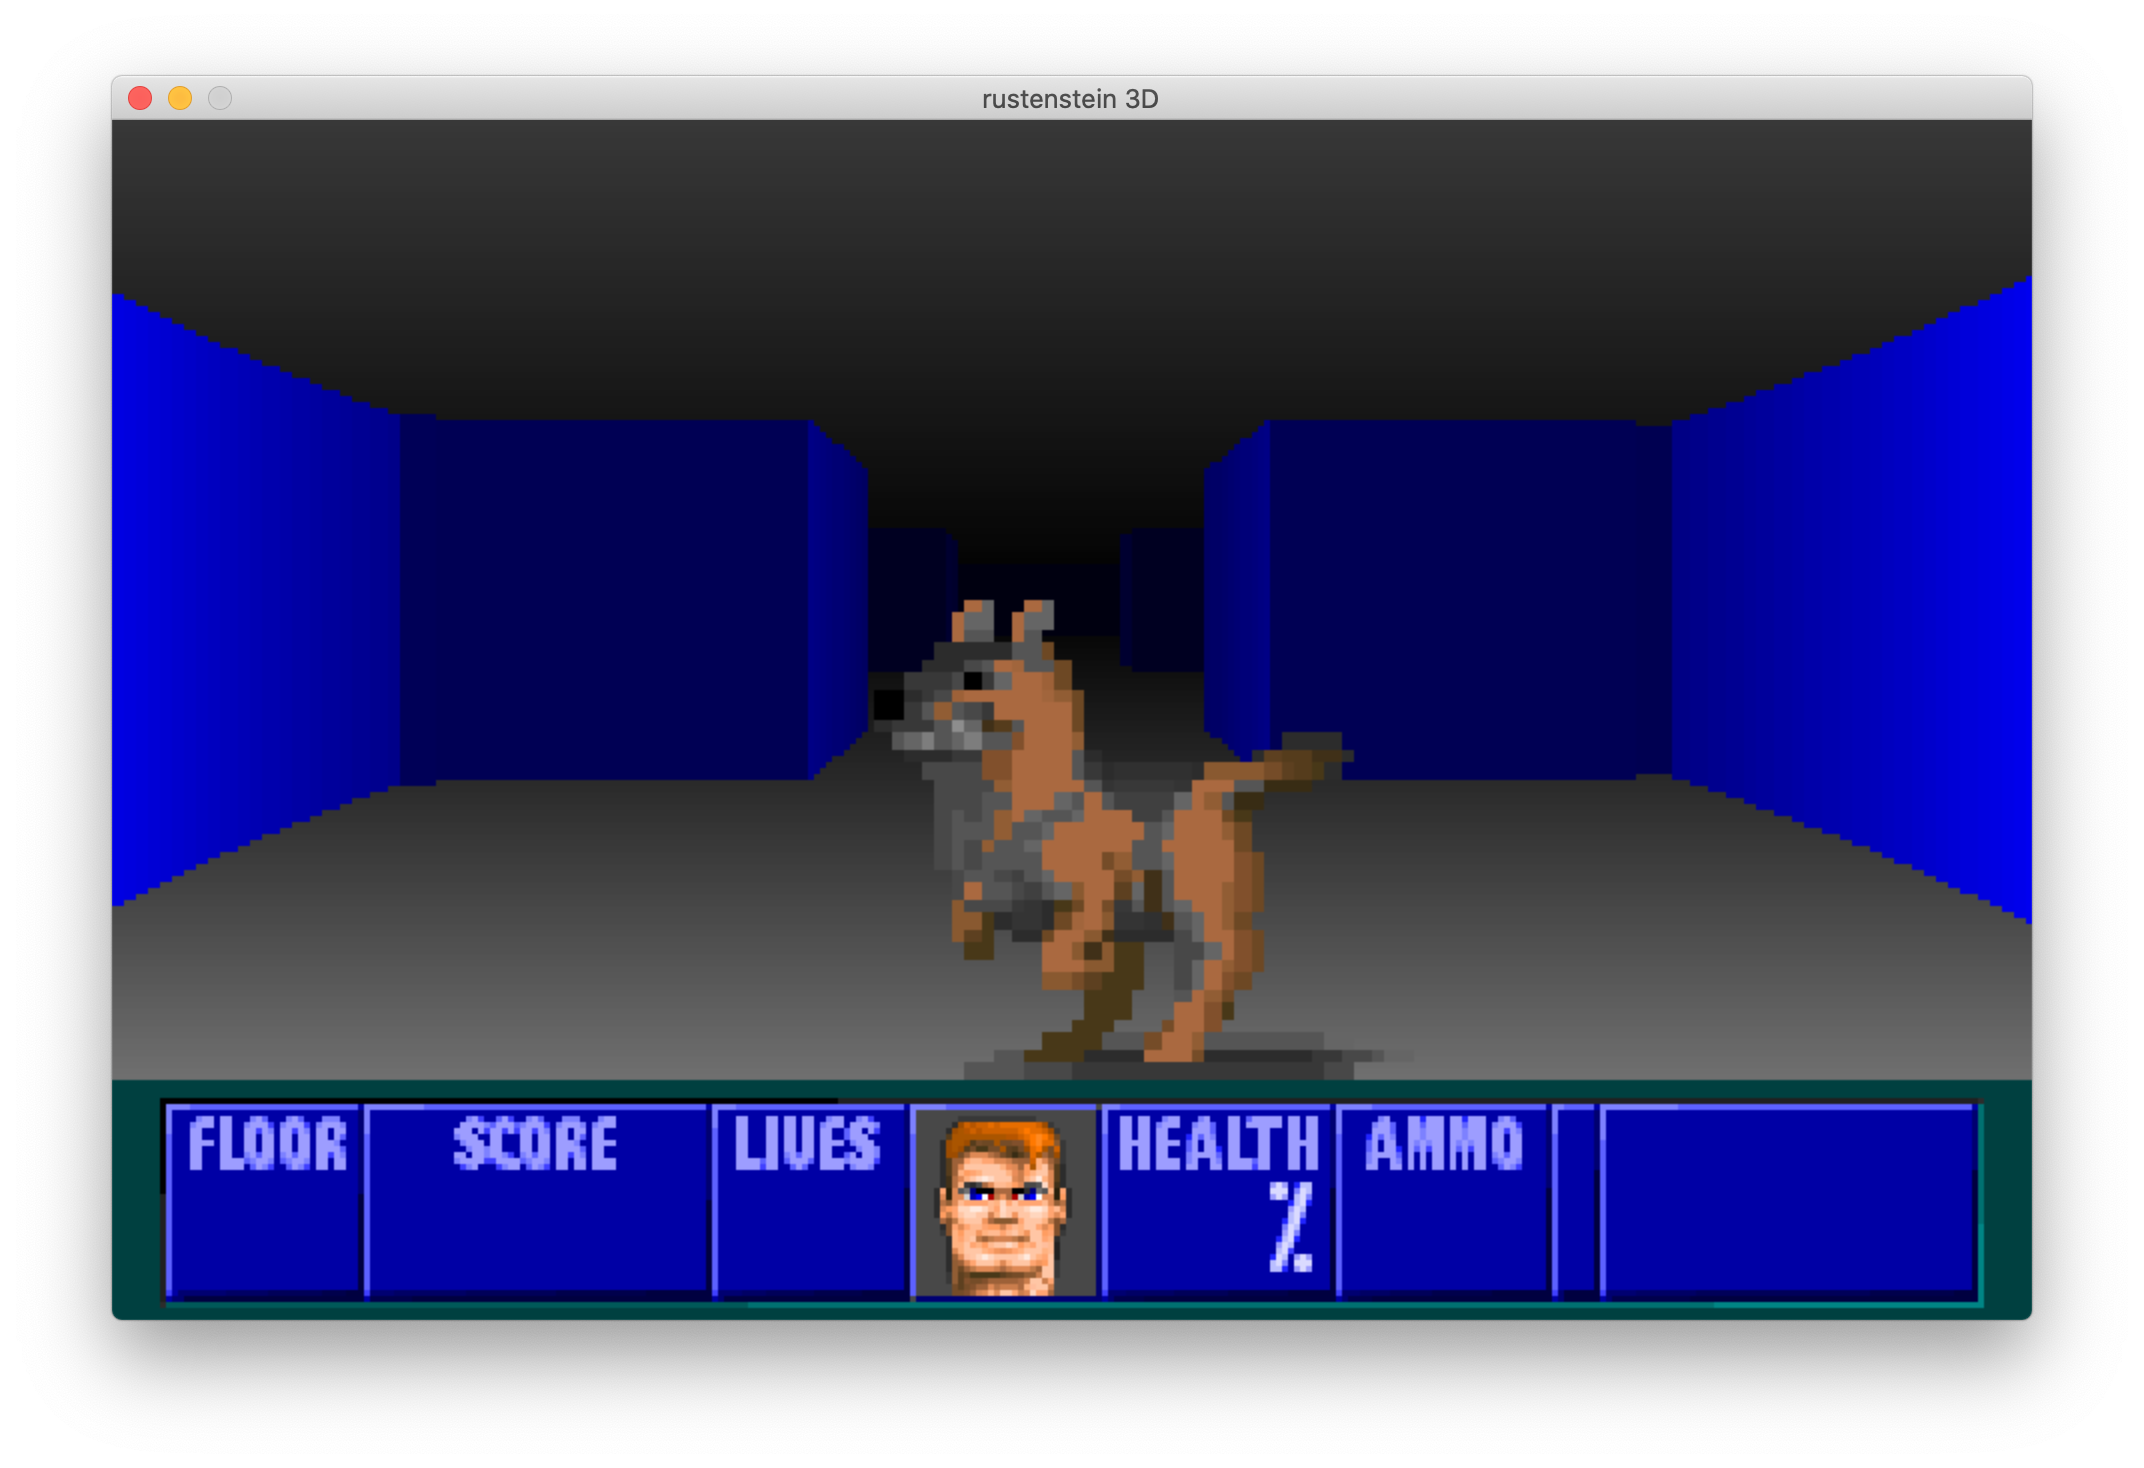 An unexpected sprite appeared instead of the weapon during development.
 It would be desirable to improve this implementation such that most of the processing is done once as part of the asset loading step, and the binary chunks are kept in memory, ready to be written to the screen.
The related code can be found here.
Ray Casting
At the heart of the Wolfenstein 3D engine is the Ray Casting algorithm. This routine allows us to project a 2D world (defined by the 64x64 tilemap) into a 3D view, solely based on 2D operations. The algorithm can be summarized as follows:
- Cast a ray from the player’s current position for each pixel column in the screen width. For example, the classical Wolfenstein 3D resolution is 320x200, so this means casting 320 rays to draw a frame.
- Extend the ray in a direction determined by the current horizontal pixel, the player’s position and its field of view, until it hits a wall in the map. Because the walls are rectangular, the calculations to extend the rays are greatly simplified, since there’s a constant distance between a tile and the next.
- Once the ray intersects a wall, calculate the distance from the player to that wall, using trigonometry.
- Set a height for the wall, inversely proportional to the calculated distance. This is: the further the wall the ray hits is from the player, the smaller the wall looks from the player’s perspective (and the smaller the column of pixels we will need to draw on the screen).
Below is a simplified JavaScript version of the algorithm, based on this tutorial:
function rayCasting(screen, map, player) {
  let precision = 64;
  let incrementAngle = player.fieldOfView / screen.width;

  let wallHeights = [];
  let rayAngle = player.angle - player.fieldOfView / 2;
  for(let rayCount = 0; rayCount < screen.width; rayCount++) {

    // start the ray at the player position
    let ray = {
      x: player.x,
      y: player.y
    };

    // the ray moves at constant increments
    let rayCos = Math.cos(degreeToRadians(rayAngle)) / precision;
    let raySin = Math.sin(degreeToRadians(rayAngle)) / precision;

    // advance the ray until it finds a wall (a non zero tile)
    let wall = 0;
    while(wall == 0) {
      ray.x += rayCos;
      ray.y += raySin;
      wall = map[Math.floor(ray.y)][Math.floor(ray.x)];
    }

    // calculate the distance from the player to the wall hit
    let distance = Math.sqrt(Math.pow(player.x - ray.x, 2) + Math.pow(player.y - ray.y, 2));

    // calculate height at current x inversely proportional to the distance
    wallHeights.push(Math.floor(screen.halfHeight / distance));

    // increment the angle for the next ray
    rayAngle += incrementAngle;
  }

  return wallHeights;
}
For a ray casting implementation closer to the original Wolfenstein 3D one, this series of tutorials is recommended.
This routine was clearly the most challenging we tackled during this Hack Week, but we made a couple of decisions early on that reduced the complexity enough to be able to deliver something on time. First, we went with the most basic version of the algorithm that supports walls of solid colors instead of textures. Second, Josh Burroughs figured out ray casting separately, based on tutorials, instead of trying to make a line-by-line port of the original Carmack implementation (which, quoting Sanglard, is a “fully-handcrafted 740 lines of highly unorthodox and super efficient assembly code”) or its wolf4sdl counterpart (which is C but still relied heavily on goto statements and had a lot of global side-effects in addition to calculating wall heights).
Here’s what the top-down view of the first Wolf map looked like after integrating it into the ray casting routine:

The full implementation can be found here.
World Rendering
The 3D world is displayed by first splitting the screen horizontally in two halves, painting the upper half with a ceiling solid color and the lower half with a floor color. After that, a pixel column needs to be drawn with the height received from the ray casting algorithm for each horizontal coordinate. While the algorithm was still in development, we tested the rendering code with hard-coded walls:
Once the ray casting routine was implemented and fed with an actual Wolfenstein map, we got an array of wall heights for each pixel column in the screen, and we started to see the world:
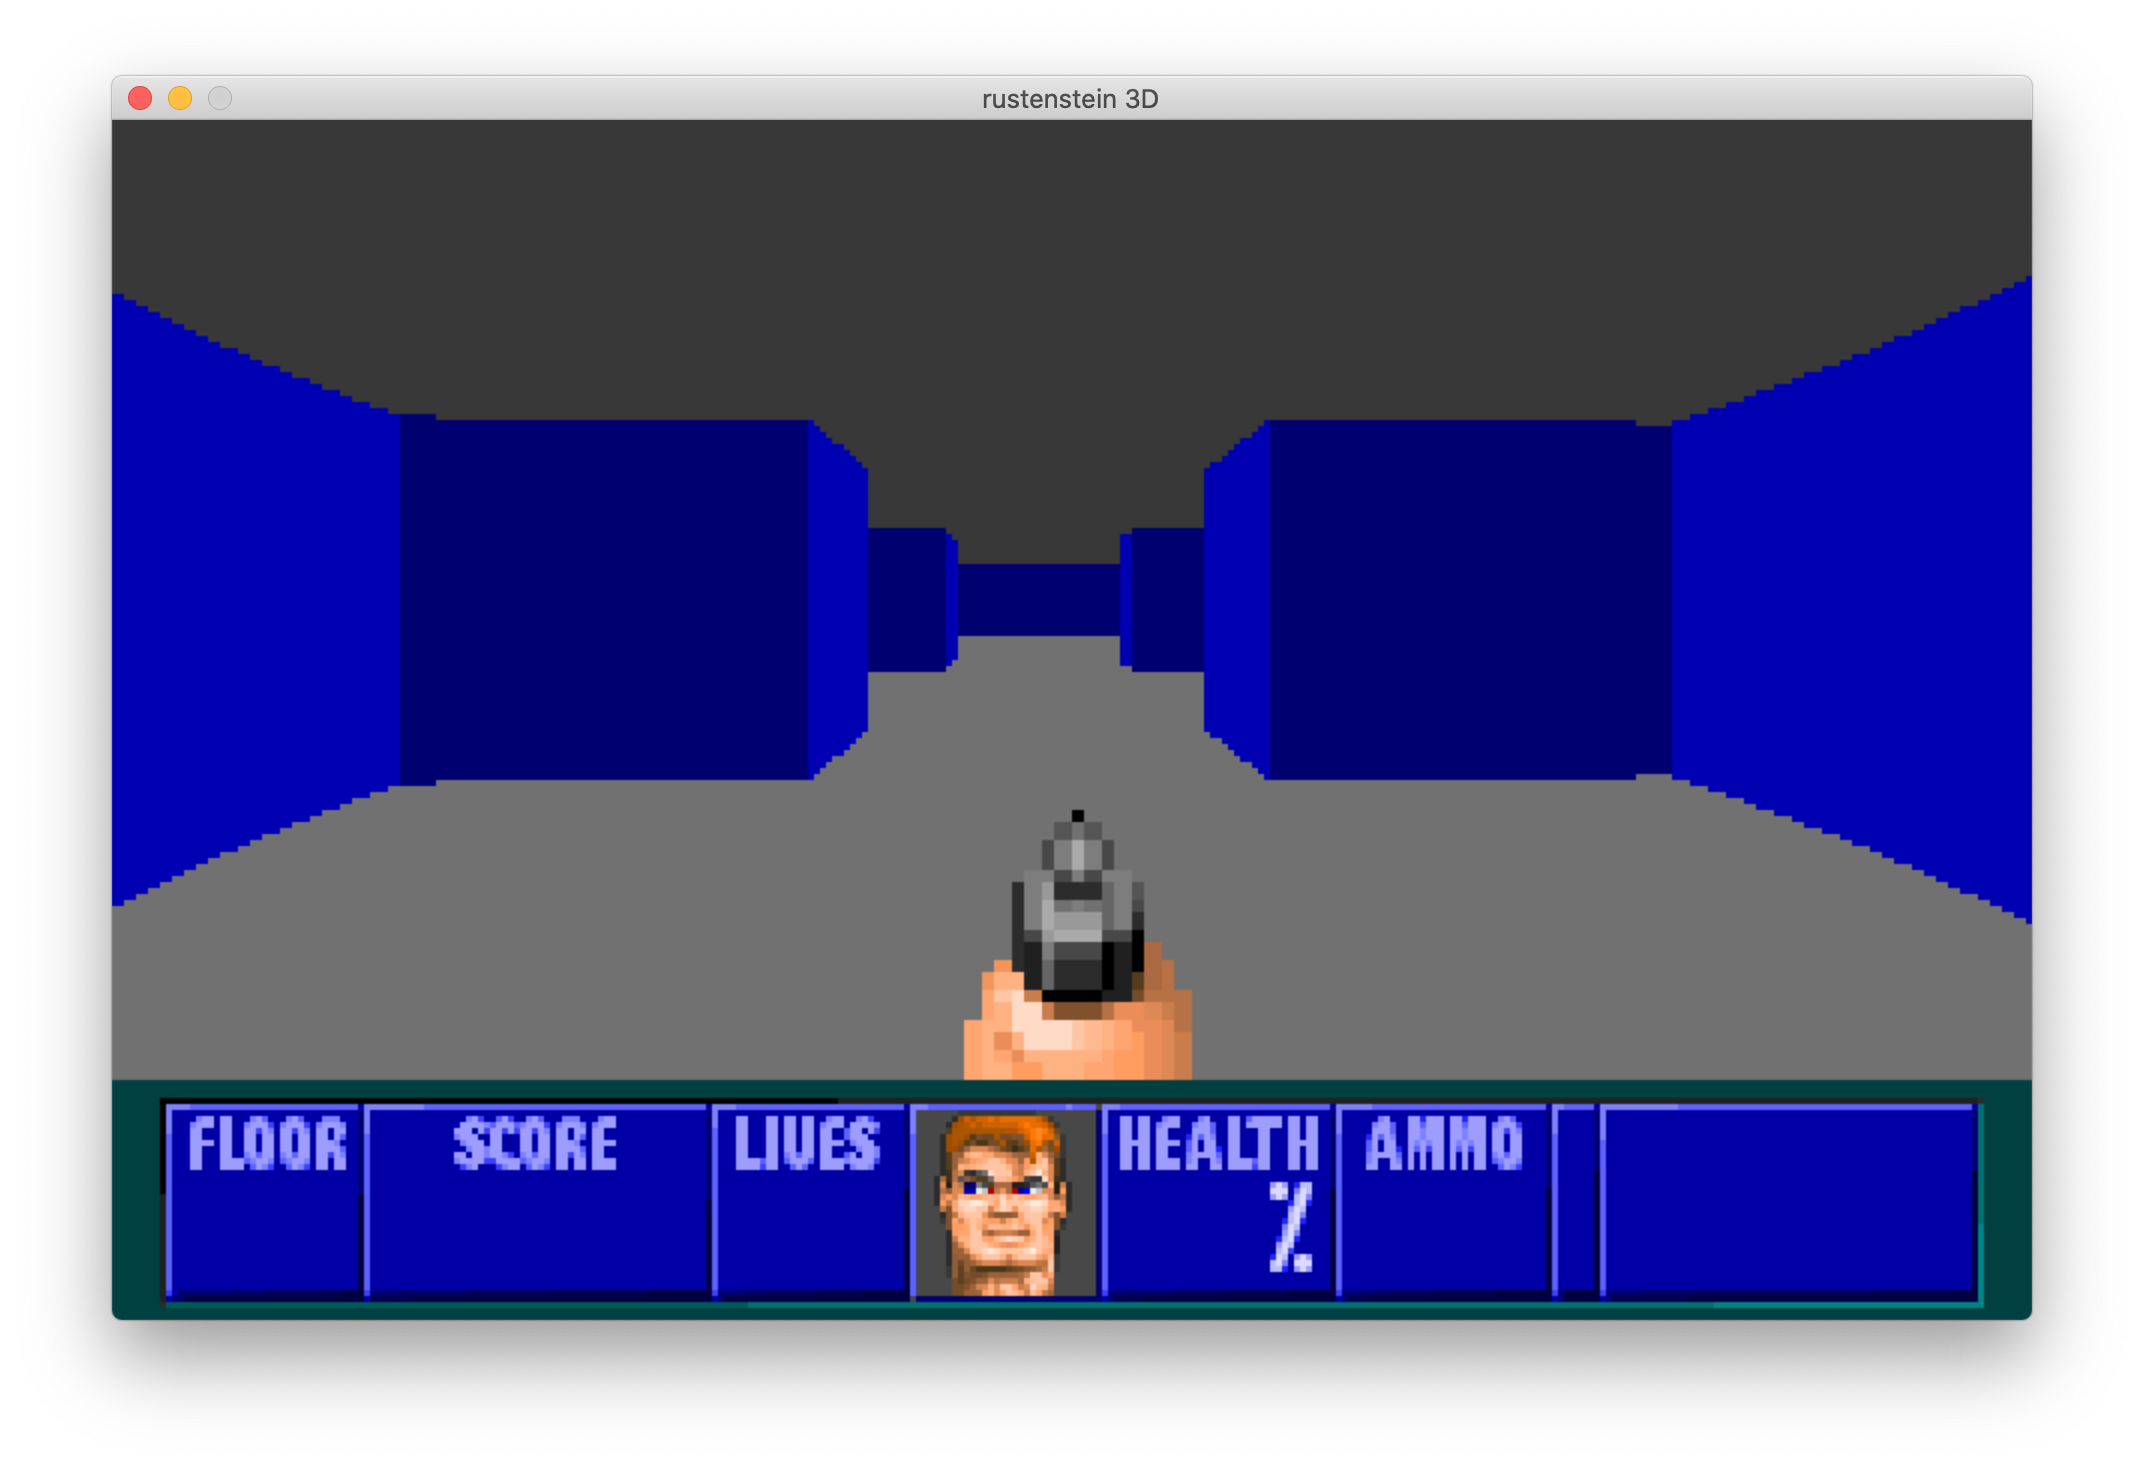
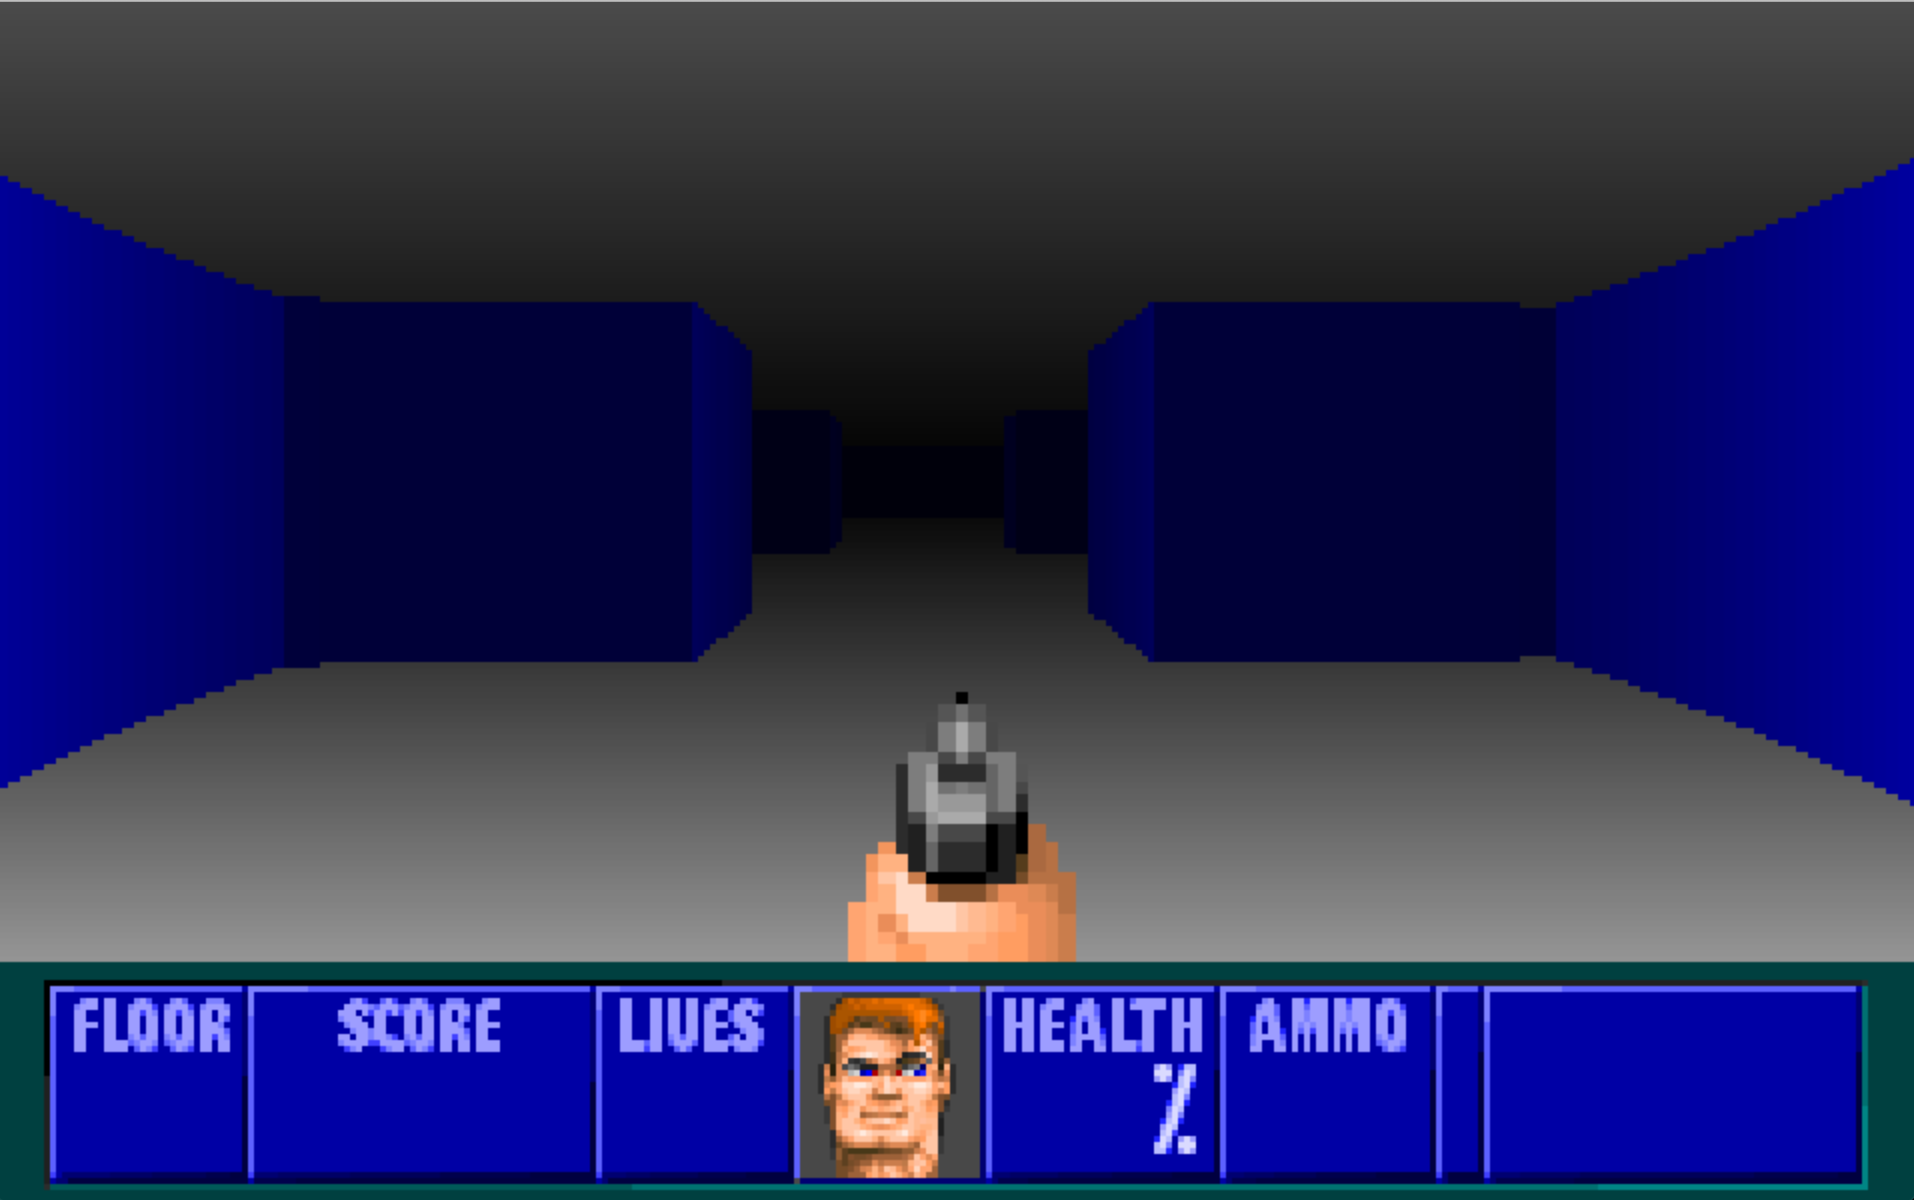
Although we haven’t implemented texture rendering, there are a couple of tricks that improve the appearance of the scene: using different colors for the horizontal and vertical faces of a wall, and making the r, g, b components of each pixel inversely proportional to the distance to the player (which we know from the height of the wall), to generate a darkness effect:
The world rendering code, then, looks like this:
texture
 .with_lock(None, |buffer: &mut [u8], pitch: usize| {
     // draw floor and ceiling colors
     let floor = color_map[VGA_FLOOR_COLOR];
     let ceiling = color_map[VGA_CEILING_COLOR];
     let vm = view_height / 6;

     for x in 0..pix_width {
         for y in 0..pix_height / 2 {
             let ceilings = darken_color(ceiling, vm - y, pix_center);
             put_pixel(buffer, pitch, x, y, ceilings);
         }
         for y in pix_height / 2..pix_height {
             let floors = darken_color(floor, y - vm, pix_center);
             put_pixel(buffer, pitch, x, y, floors);
         }
     }

     for x in 0..pix_width {
         // use different colors for horizontal and vertical wall faces
         let mut color = if ray_hits[x as usize].horizontal {
             color_map[150]
         } else {
             color_map[155]
         };

         let current = min(ray_hits[x as usize].height, pix_center);
         color = darken_color(color, current, pix_center);

         for y in pix_center - current..pix_center + current {
             put_pixel(buffer, pitch, x, y, color);
         }
     }
 })

fn darken_color(color: (u8,u8,u8), lightness: u32, max: u32) -> (u8,u8,u8) {
    let (r,g, b) =  color;
    let factor = lightness as f64 / max as f64 / DARKNESS;
    let rs = (r as f64 * factor) as u8;
    let gs = (g as f64 * factor) as u8;
    let bs = (b as f64 * factor) as u8;
    (rs, gs, bs)
}
Putting it all together
A day before the demo, we only had pieces of the game: asset loading wasn’t finished, we had show-stopper bugs in map parsing and sprite rendering, and the ray casting engine was working in a 2D hardcoded map, separate from the rest of the project. In an amazing few final hours, everything just fell into place: the bugs were ironed out, the different components fit together and, with a few hacks and a lot of ugly code, we managed to put together an impressive-looking video, just in time for the Hack Week demo session. We even had time to throw in a last-minute face animation of the character! The whole experience reminded me of those stories about video game companies putting together one-off builds in a hurry, just to make it to E3 demos.
This is still far from a functioning game, but it surpassed our most optimistic predictions from a few days before. During this week, we learned a fair deal about Rust, and we went further than we could have if we were working on our own. And the project ended up winning the technical award of the event!

The prototype is now published as open-source, although, as said, the code still needs significant clean-up. Since the project was a lot of fun and, in this first week, we managed to solve some of the most challenging parts (assets loading, ray casting, sprite and wall rendering), we’re eager to continue working on it. Some of the features that we could tackle next are:
- Rendering wall textures
- Show and pick up items
- Add enemies to the map, implement combat and enemy AI
- Implement doors and keys
- Implement push walls